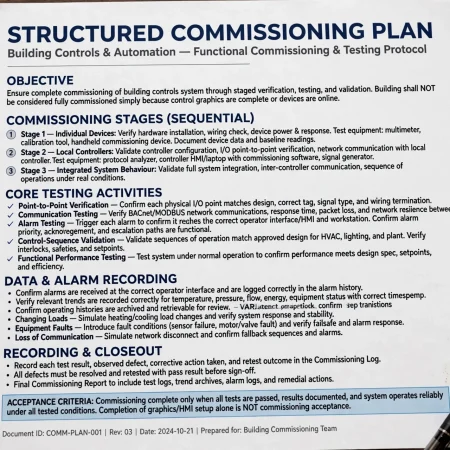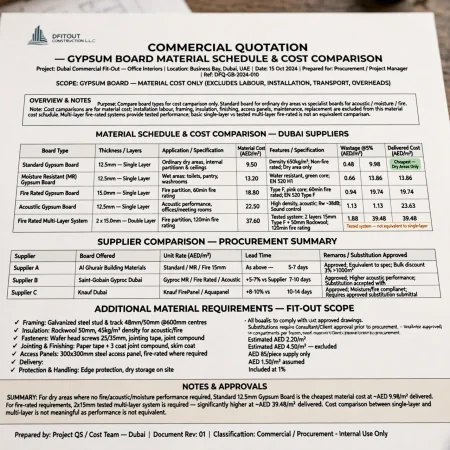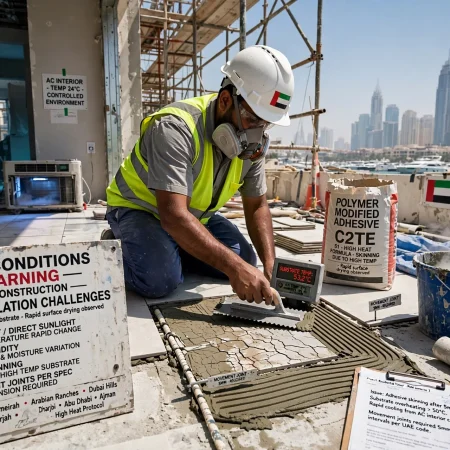
Tiles are one of the most practical finishing materials for Dubai homes. They are used extensively in villas, apartments, kitchens, bathrooms, entrances, balconies and living areas because they can provide durability, easy maintenance and a wide range of design options. However, even high-quality porcelain, ceramic, marble and natural stone tiles can develop problems when installation is not carried out correctly.
Cracked tiles, hollow-sounding areas, uneven surfaces, loose tiles, damaged grout and moisture penetration are among the issues homeowners may encounter. Some problems become visible immediately, while others develop months or years after installation.
Understanding why tile installation problems occur can help Dubai homeowners make better decisions when renovating or constructing a property. Proper substrate preparation, suitable materials, correct adhesive coverage, accurate tile alignment and appropriate waterproofing are essential for a durable finished surface.
Why Do Tile Installation Problems Occur in Dubai Homes?
A tile installation is a complete system rather than simply placing tiles over a floor or wall. The substrate, adhesive, tile, grout, movement joints and surrounding construction all need to work together.
Problems can begin when the underlying surface is uneven, contaminated, damp or structurally unstable. Incorrect adhesive selection, inadequate coverage and poor installation techniques can also contribute to premature failure.
Dubai properties can experience additional practical challenges because of intensive air-conditioning, temperature differences between indoor and outdoor spaces, dust, renovation activity and the demanding use of residential properties.
The age of the building also matters. Older villas and apartments may require more extensive surface preparation before new tiles can be installed.
Cracked Floor Tiles
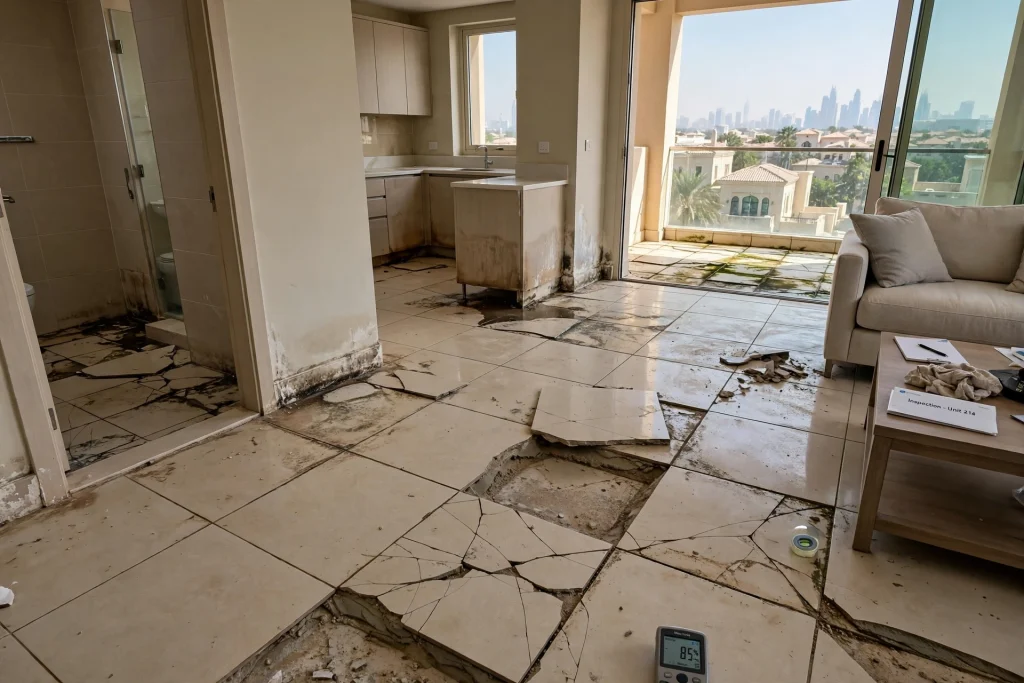
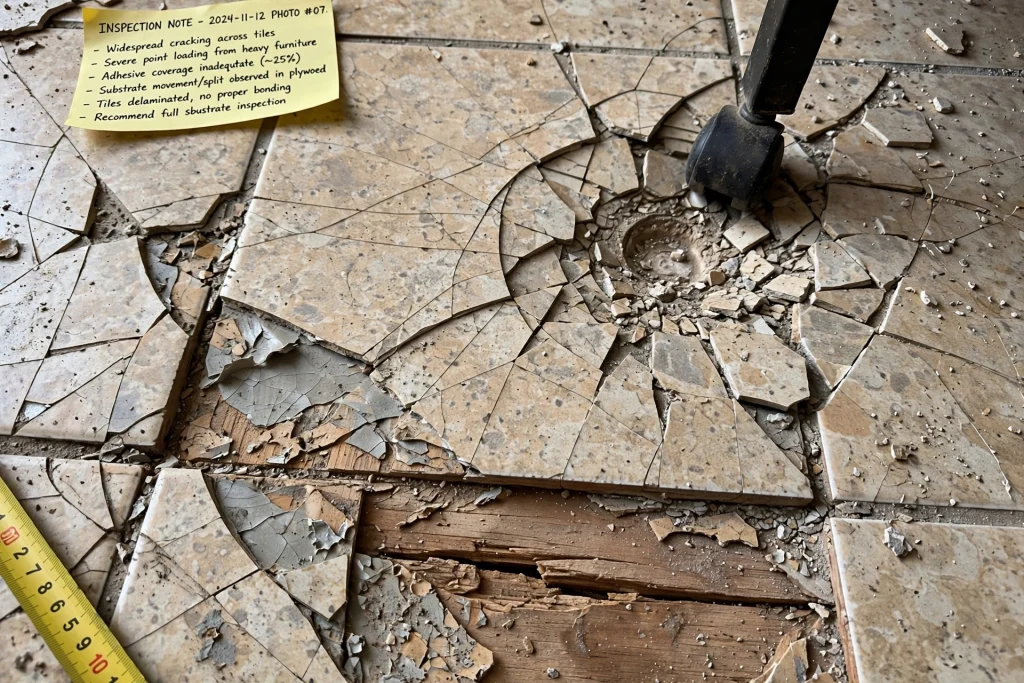
Cracked tiles are one of the most obvious signs that something may be wrong with the installation or underlying surface.
A tile can crack because of impact, excessive point loading, movement in the substrate, inadequate adhesive coverage or an unsuitable installation method. Cracks can also develop when tiles are installed over surfaces that are not sufficiently stable.
Heavy furniture, dropped objects and concentrated loads can damage individual tiles, but widespread cracking should not simply be treated as a tile-quality problem.
If several tiles crack in the same area or cracks repeatedly appear after replacement, the underlying substrate should be inspected.
How to Avoid Cracked Tiles
Before installation, the surface should be assessed for cracks, movement and unevenness. The selected tile should also be appropriate for the intended application.
Floor tiles in busy areas should have suitable strength and performance characteristics. The adhesive should be compatible with the tile and substrate, and installation should follow the manufacturer’s recommendations.
Expansion and movement considerations are also important in larger areas. A professional installer can determine where appropriate movement provisions may be required.
Hollow-Sounding Tiles
A hollow sound when tapping a tile can indicate insufficient bonding or voids beneath the tile.
Not every slight difference in sound automatically means a tile will fail, but widespread hollow areas can be a warning sign, particularly when combined with movement, cracking or loose edges.
Insufficient adhesive coverage is one possible cause. Another is poor substrate preparation or incorrect application of the adhesive.
How to Prevent Hollow Tiles
The substrate should be clean, stable and properly prepared before installation. The adhesive should be applied using an appropriate method and coverage should be sufficient for the tile and application.
Large-format porcelain tiles require particularly careful installation because voids beneath them can create weak areas.
Installers should follow the adhesive manufacturer’s instructions regarding mixing, application thickness, open time and coverage.
Loose Floor Tiles
Loose tiles may move slightly when stepped on or produce a noticeable sound when pressure is applied.
Poor adhesive bonding is a common cause, but movement in the substrate, moisture problems and incorrect installation conditions can also contribute.
Loose tiles should not simply be covered with new material without understanding why they became detached.
How to Avoid Loose Tiles
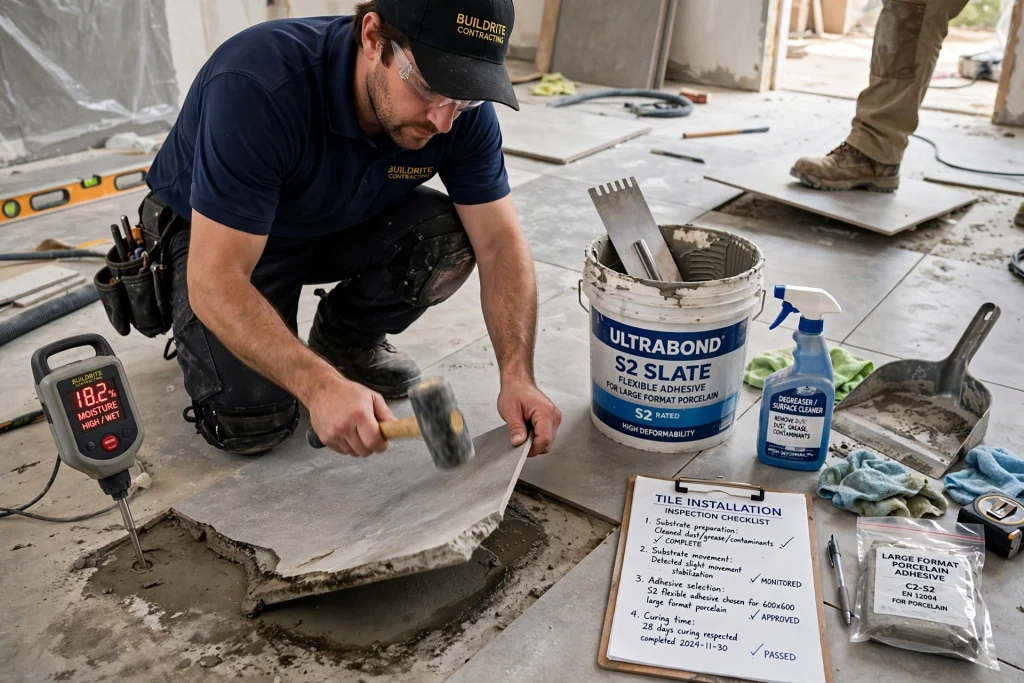
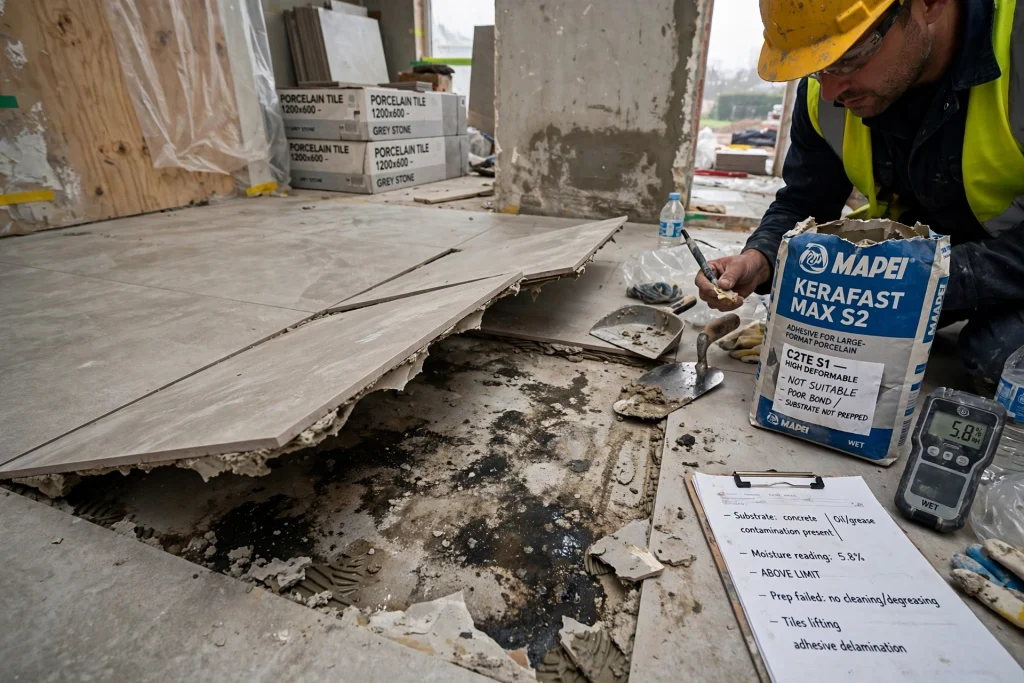
Correct substrate preparation is essential. Dust, grease, loose material and contaminants can interfere with bonding.
The installer should select an adhesive suitable for the tile type and substrate. Large-format porcelain, natural stone and wet-area applications may require specific adhesive systems.
Proper curing time should also be respected before the finished floor is subjected to heavy traffic.
Uneven Tiles and Tile Lippage
Tile lippage occurs when adjacent tiles are not at the same finished height.
Small variations may be influenced by tile manufacturing tolerances, but significant lippage can be caused by an uneven substrate, inconsistent adhesive application or poor installation technique.
Lippage is particularly noticeable when large-format tiles are installed under strong lighting.
How to Reduce Tile Lippage
The substrate should be sufficiently level before installation. Large tiles require careful planning because they can follow variations in the underlying surface.
Professional installers may use tile levelling systems where appropriate. Consistent adhesive application and correct positioning can also help create a more uniform surface.
Lighting should also be considered during design because directional light can make even minor surface variations more visible.
Uneven or Inconsistent Grout Lines
Grout joints can significantly affect the appearance of a tiled room.
Inconsistent spacing may result from inaccurate tile positioning, inconsistent tile dimensions or poor installation control. Narrow-joint installations can make small variations particularly noticeable.
How to Avoid Uneven Grout Lines
The layout should be planned before installation begins. The installer should establish reference lines and maintain consistent spacing throughout the area.
Tile spacers or appropriate installation systems can help maintain joint consistency, but the final result also depends on workmanship.
The tile collection itself should also be checked because different products can have different dimensional tolerances.
Grout Cracking
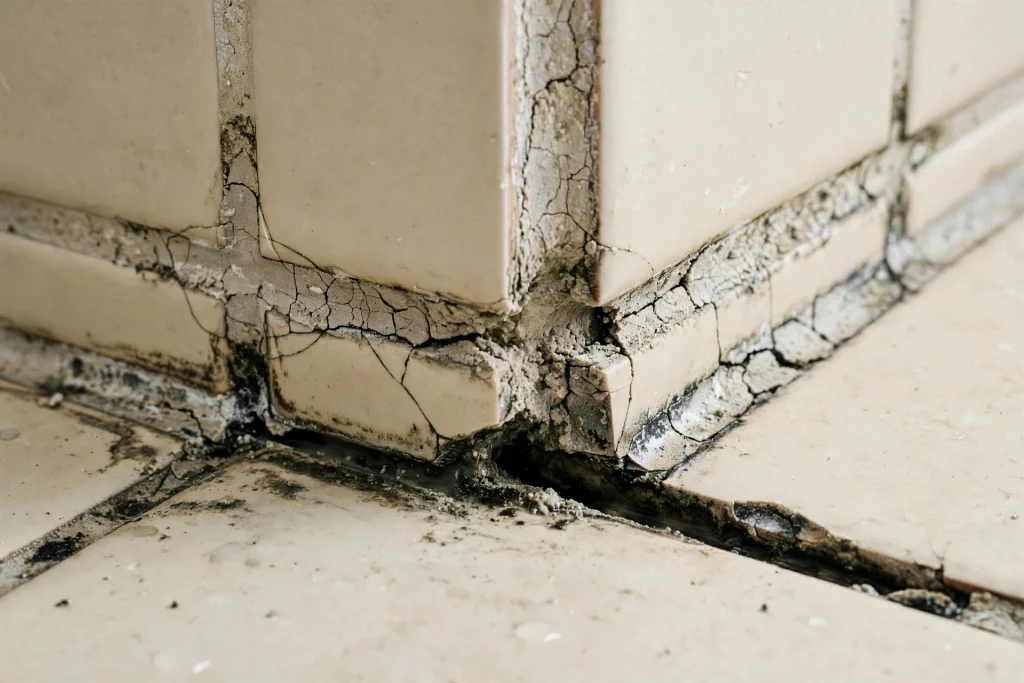
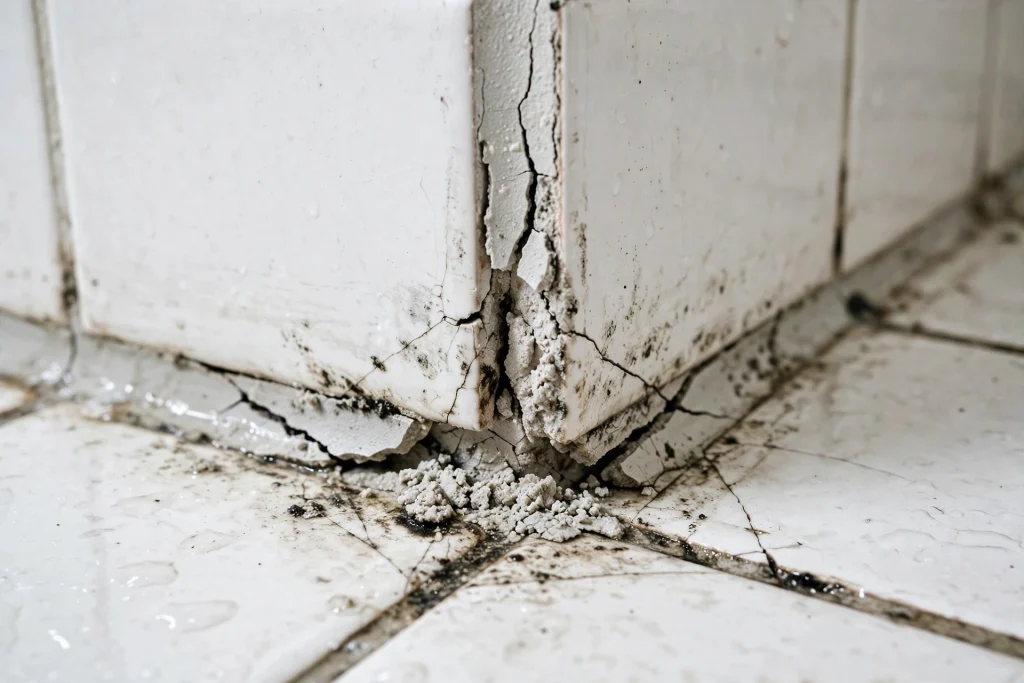
Cracked grout can occur in bathrooms, kitchens, floors and other tiled areas.
Movement in the substrate, incorrect grout selection, excessive joint width, poor mixing or premature exposure to moisture can contribute to grout failure.
In corners and changes of plane, flexible sealants may be more appropriate than rigid grout depending on the construction detail.
How to Prevent Grout Problems
Use a grout suitable for the tile and application. Follow the manufacturer’s mixing and curing instructions and avoid adding excessive water.
Wet areas require particularly careful detailing. Shower corners, wall-to-floor junctions and movement zones should be treated according to the appropriate installation system.
Water Damage Behind Bathroom Tiles
One of the most serious tiling problems is moisture entering areas that should remain protected.
Bathrooms, showers and other wet areas require proper waterproofing and detailing before tiles are installed. Tiles and grout alone should not be considered a complete waterproofing system.
Water can enter through joints, cracks, penetrations or poorly sealed transitions if the underlying waterproofing system is inadequate.
How to Prevent Bathroom Moisture Problems
Waterproofing should be planned before tile installation. The substrate should be prepared correctly and the waterproofing system should be compatible with the project requirements.
Special attention should be given to shower floors, wall junctions, drains, pipe penetrations and niches.
A bathroom renovation in areas such as Jumeirah, Dubai Hills Estate, Arabian Ranches or Palm Jumeirah should therefore consider waterproofing as part of the overall wet-area system rather than treating it as an optional finishing step.
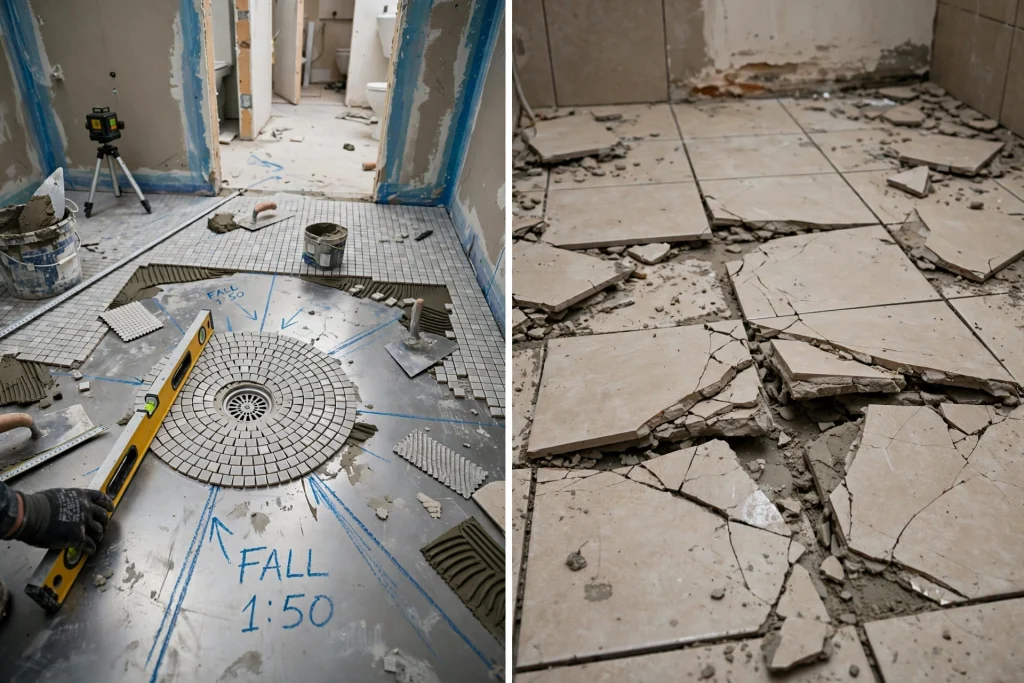
Incorrect Floor Slope in Bathrooms
Bathrooms and shower areas need appropriate drainage.
If the finished floor does not have the correct slope toward the drain, water may remain on the surface. Persistent standing water can affect grout, sealants and surrounding finishes.
The problem may originate from the screed or substrate rather than the tile itself.
How to Avoid Drainage Problems
The floor should be planned and prepared before the tiles are installed. The installer should understand the location of drains and the required falls.
Smaller tile formats may sometimes make it easier to create slopes around shower drains because they can accommodate changes in direction more easily.
The final surface should be checked before the project is considered complete.
Tiles Lifting or Buckling
Tiles that rise from the substrate or appear to push against each other can indicate movement or insufficient provision for expansion.
Large areas of flooring are affected by temperature changes, structural movement and other forces. If the installation system does not accommodate movement appropriately, stresses can build beneath the finished surface.
How to Reduce the Risk of Tile Lifting
Large tiled areas should be planned with the building’s movement characteristics in mind. Appropriate joints and perimeter detailing may be required depending on the installation.
The tile manufacturer and adhesive manufacturer should be consulted when planning larger installations.
This becomes particularly important for extensive villa floors, commercial spaces and large-format porcelain installations.
Incorrect Tile Adhesive
Using the wrong adhesive can create problems even when the tiles themselves are high quality.
Different tile materials and substrates have different bonding requirements. A standard adhesive may not be suitable for every porcelain, natural stone, large-format tile or specialist application.
How to Choose the Correct Adhesive
The adhesive should be selected according to the tile material, dimensions, substrate, location and environmental conditions.
For example, large-format porcelain may require a different installation approach from small ceramic wall tiles. Wet areas also require suitable products and installation practices.
Following the manufacturer’s technical recommendations is more reliable than selecting an adhesive based solely on price.
Poor Surface Preparation
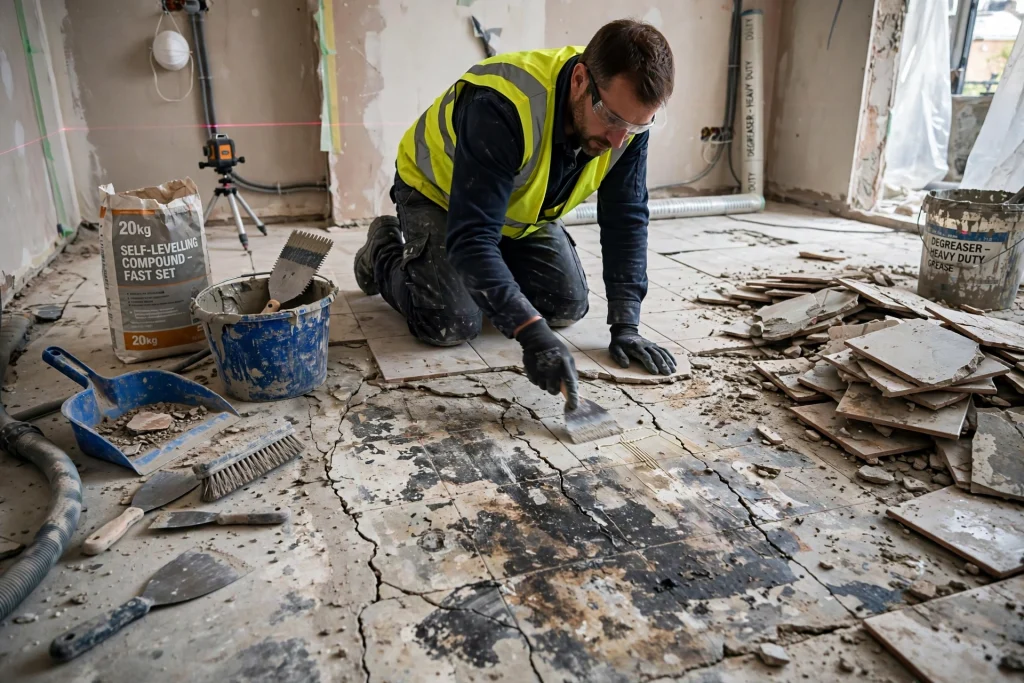
Surface preparation is one of the most important stages of a successful tile installation.
Dust, loose material, paint, grease, uneven screed and cracks can interfere with bonding and finished-level accuracy.
Installing expensive tiles over a poorly prepared surface does not solve the underlying problem.
How to Prepare a Surface Correctly
The installer should inspect the substrate before installation. Depending on its condition, preparation may include cleaning, repairing cracks, removing old adhesive, levelling or correcting local defects.
For renovation projects, existing tiles may need to be removed if the surface is unstable or unsuitable for overlay installation.
Good preparation can take additional time, but it reduces the likelihood of expensive tile failures later.
Poor Tile Alignment
Tiles that are not aligned correctly can make an otherwise attractive room look unfinished.
Alignment problems are particularly visible when large rectangular tiles are installed across long walls or floors. Doorways, corridors, columns and room transitions require additional planning.
How to Improve Tile Layout
The layout should be planned before adhesive is applied.
Installers should identify the centre lines, major visual axes, door positions, fixtures and areas where cuts will be most visible.
In bathrooms, tile layout should also consider shower niches, taps, sanitary fittings and other architectural features.
A good layout can reduce awkward narrow cuts and create a more balanced appearance.
Incorrect Tile Selection
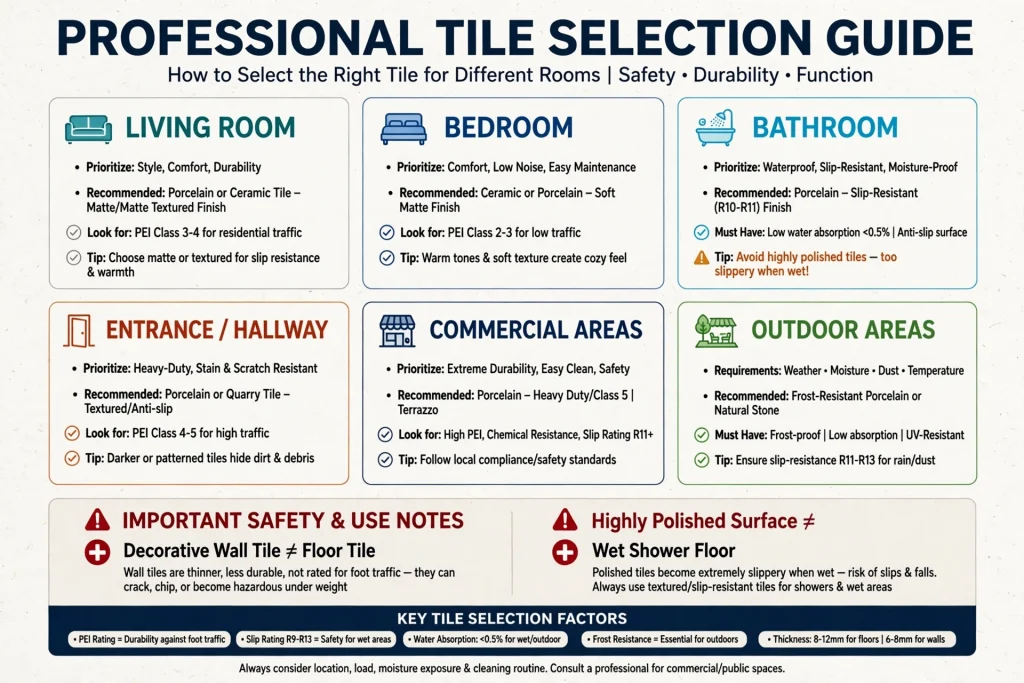
Some homeowners choose tiles based primarily on colour or appearance.
However, the same product may not be suitable for every room. A decorative wall tile may not be designed for floor traffic, while a highly polished surface may not be appropriate for a wet shower floor.
Outdoor areas have their own requirements because tiles can be exposed to weather, moisture, dust and temperature variations.
How to Select the Right Tile
Consider the location, traffic level, moisture exposure, cleaning requirements, slip characteristics and expected durability.
For living rooms and bedrooms, design flexibility may be a major consideration. Bathrooms require moisture and slip considerations. Entrances and commercial areas may require greater resistance to wear.
Problems With Large-Format Tiles
Large-format tiles can create a luxurious, continuous appearance, but they require careful installation.
Uneven substrates become more noticeable, handling is more difficult and incorrect adhesive coverage can create weak areas.
Large porcelain slabs can also require specialist transportation, cutting and positioning equipment.
How to Avoid Large-Tile Installation Problems
The installer should inspect and prepare the substrate carefully before installation.
Suitable lifting, cutting and levelling equipment may be required depending on the tile dimensions. The adhesive application should provide the coverage recommended for the product and application.
For premium Dubai villas and high-end interiors, experienced installation can make a significant difference to the finished appearance.
Tile Staining and Discolouration
Tiles and grout can develop stains when unsuitable cleaning products are used or when porous materials are not correctly protected.
Natural stone such as marble and limestone may require specific cleaning and sealing procedures.
Grout can also absorb dirt if it is not properly selected, installed and maintained.
How to Prevent Tile Staining
Use cleaning products recommended for the specific material. Avoid harsh chemicals unless they are confirmed to be compatible with the tile and grout.
Natural stone should be treated according to the manufacturer’s maintenance recommendations.
Regular cleaning is generally more effective than allowing dirt and residue to accumulate over long periods.
Poor Tile Transitions Between Rooms
Different rooms may use different tile sizes, colours or materials.
If transitions are not planned correctly, the change between surfaces can look awkward or create a height difference.
This is particularly important in open-plan Dubai villas and apartments where living, dining and kitchen areas may visually connect.
How to Improve Tile Transitions
Plan transitions before installation begins. The finished thickness of each flooring material should be considered along with adhesive, screed and underlayment requirements.
A professional installer can determine how different materials should meet and whether a transition profile or other finishing detail is appropriate.
Tile Installation Problems in Dubai Renovations
Renovation projects can present more challenges than new construction.
Existing properties may have old screed, previous tile layers, repaired plumbing, uneven surfaces or hidden moisture problems.
Apartment renovations may also have building management requirements concerning working hours, material transportation and waste removal.
Villas in Jumeirah, Dubai Hills Estate, Emirates Hills and Arabian Ranches may involve larger areas and more complex layouts.
Before starting renovation work, the installer should inspect the existing conditions instead of assuming that the substrate is ready for new tiles.
How to Prevent Tile Installation Problems
The best prevention strategy is to treat tile installation as a complete construction process.
Start by inspecting the substrate. Select tiles according to their intended application. Choose appropriate adhesive and grout. Plan the layout before installation. Complete required waterproofing and allow materials to cure correctly.
It is also important to purchase sufficient tiles from the same batch where possible. Keeping spare tiles after installation can be useful for future repairs.
For homeowners who want professional assistance, Common Tile Installation Services can provide support for installation, tile replacement, surface preparation and related finishing requirements.
How to Check a Newly Installed Tile Floor
A completed installation should be visually inspected before furniture is returned to the room.
Look for obvious cracks, excessive lippage, inconsistent joints, loose tiles, damaged grout and unfinished edges.
Bathroom areas should also be checked for proper drainage. Water should not remain in unwanted areas after normal use.
Any concerns should be raised while the installation team is still working on the project because correcting an issue immediately is generally easier than repairing a finished area later.
When Should You Replace Rather Than Repair Tiles?
Not every damaged tile requires complete floor replacement.
If the problem is limited to a few cracked or damaged tiles and the underlying surface is stable, individual replacement may be practical.
However, if numerous tiles are loose, cracked or hollow, there may be an underlying installation or substrate problem. Replacing individual tiles without addressing the cause may result in repeated failures.
A professional inspection can help determine whether repair or replacement is the more appropriate solution.
Frequently Asked Questions
Why are my new floor tiles cracking?
Cracking can result from impact, substrate movement, poor preparation, insufficient adhesive support or an unsuitable tile for the application. Repeated cracking should be investigated rather than simply repaired.
Why do tiles sound hollow after installation?
Hollow sounds can be associated with voids beneath tiles or insufficient bonding. The significance depends on the extent of the issue and whether tiles are loose or moving.
Why are my bathroom tiles coming loose?
Loose bathroom tiles can result from poor adhesive bonding, moisture problems, substrate movement or incorrect installation. The underlying cause should be identified before replacement.
How can I prevent cracked grout?
Use suitable grout, follow the manufacturer’s mixing instructions and ensure movement zones and changes of plane are detailed appropriately.
Can tiles be installed over existing tiles?
Sometimes. The existing tiles need to be stable, clean, sufficiently level and compatible with the proposed installation system. An installer should assess the surface first.
Do Dubai homes require special tiles?
There is no single tile that every Dubai property requires. Material selection depends on whether the area is indoors or outdoors, residential or commercial, dry or wet, and how much traffic it receives.
Are large-format tiles more difficult to install?
They can require more careful handling, substrate preparation, adhesive application and levelling than smaller tiles. Experienced installation is particularly important for large porcelain formats.
Final Thoughts
Most tile installation problems are preventable when the project is planned correctly from the beginning. Cracked tiles, hollow areas, loose flooring, uneven grout, lippage and moisture problems are often linked to substrate preparation, material selection or installation technique rather than the tile alone.
For Dubai homeowners, the best approach is to select tiles according to the property’s requirements, inspect the surface before installation and use appropriate adhesive, grout and waterproofing systems.
Whether the project involves a bathroom renovation in Dubai Marina, a villa upgrade in Dubai Hills Estate, a kitchen renovation in Jumeirah or new flooring in a large Arabian Ranches property, professional planning can make the finished installation more durable and visually consistent.
A quality tile installation should not only look good when completed. It should continue performing properly under everyday use, cleaning, moisture and the normal demands of the property for years to come.